
WebP Image Converter
Conversion Settings
Upload Images
Drag & drop images here
OR
Image Preview & Conversion
No images uploaded yet. Drag & drop or click “Browse Files” to get started.
Shrink your legacy graphic footprints by up to 80% with secure browser-side compression with zero quality degradation.
A WebP converter is an essential optimization engine that instantly transforms legacy, bloated JPEG and PNG image assets into modern, web-ready assets. Easily drag and drop your large JPEG or PNG files straight into the upload box, or click ‘Browse Files’ to locate them on your computer. By migrating file formats to the modern WebP format, websites reduce structural image latency to meet Core Web Vitals thresholds without compromising visual clarity.
Legacy Asset
Heavy PNG / JPEG
In-Browser Engine
80% Compression
Optimized WebP
Production Ready
The Structural Reality of Modern Mobile Web Latency
Digital audiences penalize sluggish website performance instantly. Empirical user-experience tracking reveals that a significant segment of smartphone users will abandon a domain if visual layout blocks do not render completely within a narrow three-second interaction window. For engineers, publishers, and e-commerce growth managers, these site execution bottlenecks rarely originate from core backend database lag or unoptimized JavaScript logic. The true structural vulnerability sits directly within the site’s media library assets.
Using uncompressed JPEGs and bulky transparent PNGs balloons your website’s file weight. This heavy layout drains user mobile data, slows loading speeds, and severely damages your search engine rankings across organic index pipelines. When pages freeze during image layout rendering, visitors bounce back to the search results. Once the processing is complete, you are ready for the final step. Just click the ‘Convert All’ button to package all your newly optimized, next-gen WebP images into one neat, downloadable ZIP archive. ends a poor user experience signal to search engine index bots, damaging your long-term organic keyword ranking potential.
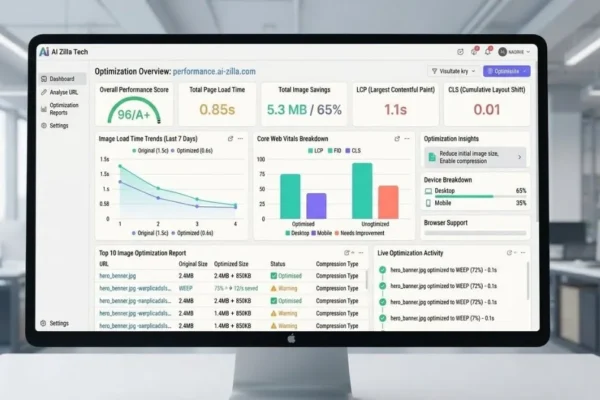
Adopting a client-side WebP converter resolves this friction, offering secure reductions of up to 80% with negligible quality loss. This process boosts the largest contentful paint (LCP) and reduces server costs.
Why Legacy Graphic Frameworks Compromise SEO Campaigns
Traditional JPEG and PNG formats are ill-suited for modern, fast-paced mobile web environments.
- Compression Ceiling: Aggressive JPEG compression causes visible, blurry artifacts.
- PNG Bottleneck: Lossless PNGs maintain quality but result in massive file sizes.
WebP solves this using advanced, predictive modeling, allowing for superior visual quality at much lower bitrates. This enhances user experience and improves SEO metrics, as detailed in documentation like the Google for Developers WebP Study.
The Performance Matrix: Evaluating Real-World Compression Savings
Setting the tool to 80% quality results in significant savings across all image types, as shown in the table below:
| Landing Page Media Asset | Historic Format | Next-Gen WebP | Total Savings |
| Hero Banners | 450 KB (JPG) | 63 KB | ~80% |
| UI Graphics | 850 KB (PNG) | 119 KB | ~80% |
| Blog Visuals | 210 KB (JPG) | 29 KB | ~80% |
| Icons & Badges | 95 KB (PNG) | 13 KB | ~80% |
Step-by-Step Guide: How to Use the WebP Converter Tool
Using our WebP image converter tool is quick and straightforward. Follow these simple steps to compress your media assets, improve your site speed, and boost your SEO rankings:
1. Configure Your Conversion Settings
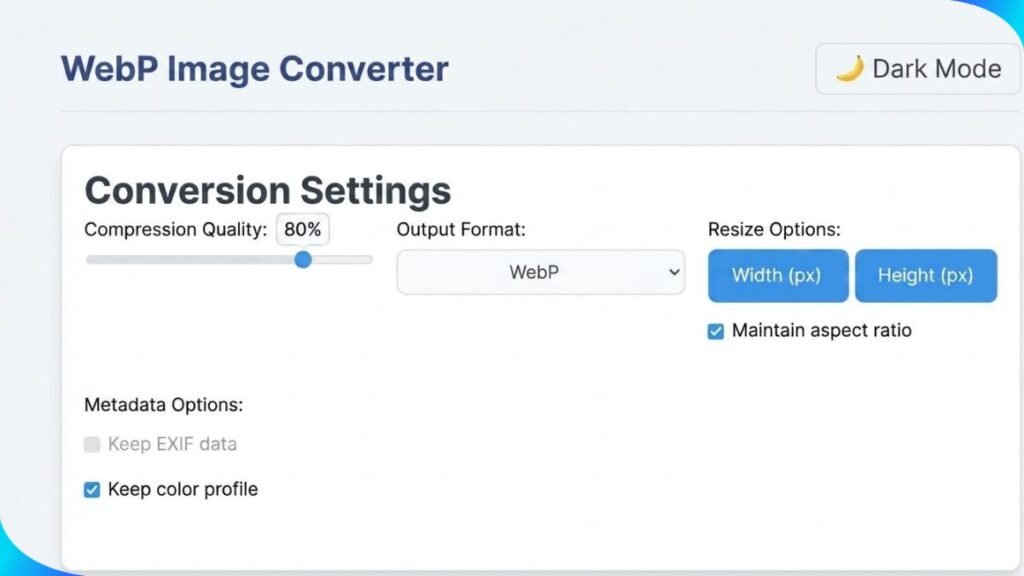
Before uploading your files, you need to set up your optimization preferences. Under the Set Quality options, adjust the slider to a value between 75% and 80%. This range provides the perfect equilibrium between maximum file size reduction and sharp visual quality. Next, check your Metadata Options: toggle off the “Keep EXIF Data” setting to strip away hidden camera data and shave off extra kilobytes. However, make sure to keep “Keep Color Profile” checked so that your images maintain their accurate, original colors on all web browsers.
2. Upload and Process Your Files
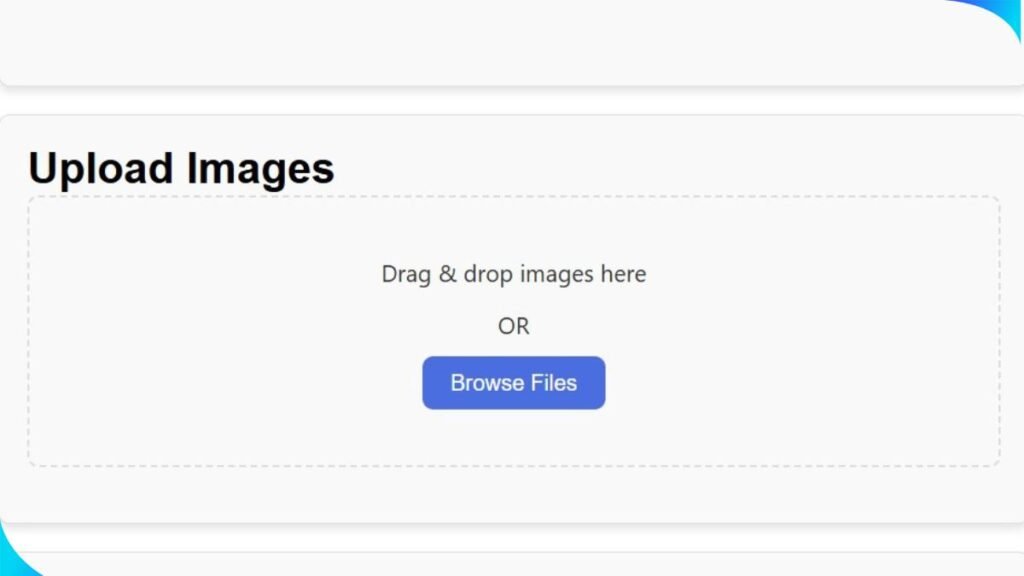
Once your settings are configured, you are ready to convert your media. To upload, drop your large JPEG or PNG files straight into the box above. Once your image optimization is done, wrap things up by hitting ‘Convert All.’ This action automatically packs your high-performance WebP formats into a downloadable zipped archive. Click the “Browse Files” option to import them from your computer. Because this tool runs locally entirely within your browser (client-side processing), your data never uploads to an external server. This ensures complete data confidentiality alongside lightning-fast processing times.
3. Download Your Optimized Media Assets
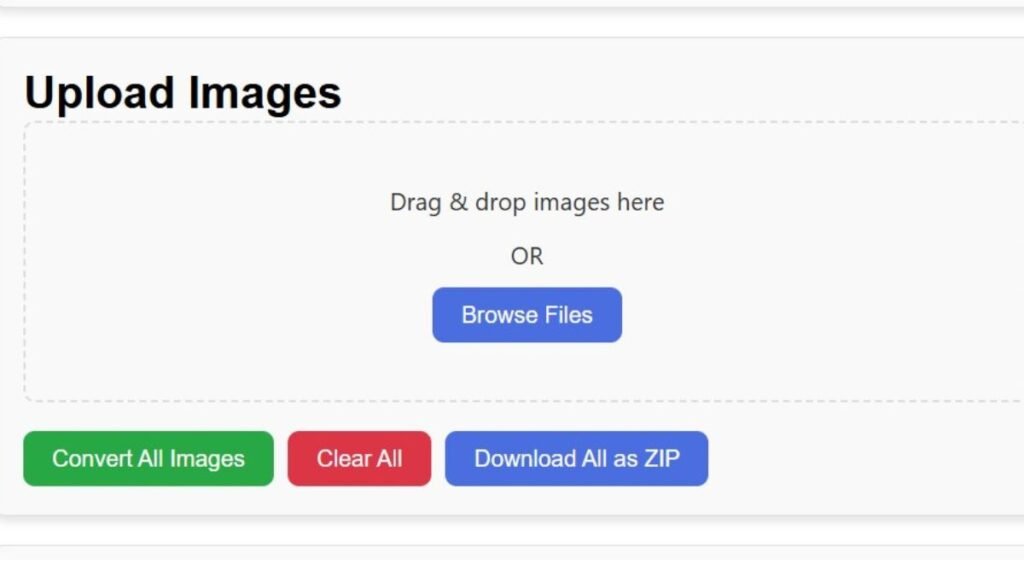
Once your image optimization is done, wrap things up by hitting ‘Convert All.’ This action automatically packs your high-performance WebP formats into a downloadable zipped archive. Save this archive to your system, extract your clean files, and upload them directly to your website’s media library for lightning-fast loading speeds.
Troubleshooting: Common Image Optimization Mistakes
- Double Compression: Avoid re-compressing already compressed files.
- Layout Shifts: Ensure width and height are defined to prevent CLS.
- Color Profiles: Retain color profiles for high-quality display.
Maximizing Marketing ROI
Use our free browser-side WebP converter to shrink image sizes by up to 80% with zero quality loss. Optimize your Core Web Vitals and speed up site index times today.




One response
I didn’t realize how much of a difference switching to WebP could make for page load speeds. It’s impressive that it supports transparency and animations too, so you don’t lose any functionality.